
RapidCache
This is step 1 of 2.
Set the email and password you want here. You will sign in with them inside your pod, on the RapidCache tab. There is no login on this website.
Getting started on RunPod
1. Deploy the template
Everything is preinstalled. One click and the pod builds itself.
Deploy the all-in-one template2. Storage, the one setting worth getting right
Container disk: 100 GB or more. Downloads are staged here first and the largest single model is 28.43 GB. The template ships 200 GB, which is fine.
Volume disk, not Network volume. Both mount at the same place. Volume disk is local to your pod and roughly ten times faster to write. Network volume is shared storage that survives the pod being terminated, and it costs less, so it is a reasonable choice if you want your models to outlive the pod. Pick Volume disk if you want the quickest setup.
200 GB is comfortable for two or three workflows.
3. Where you actually sign in
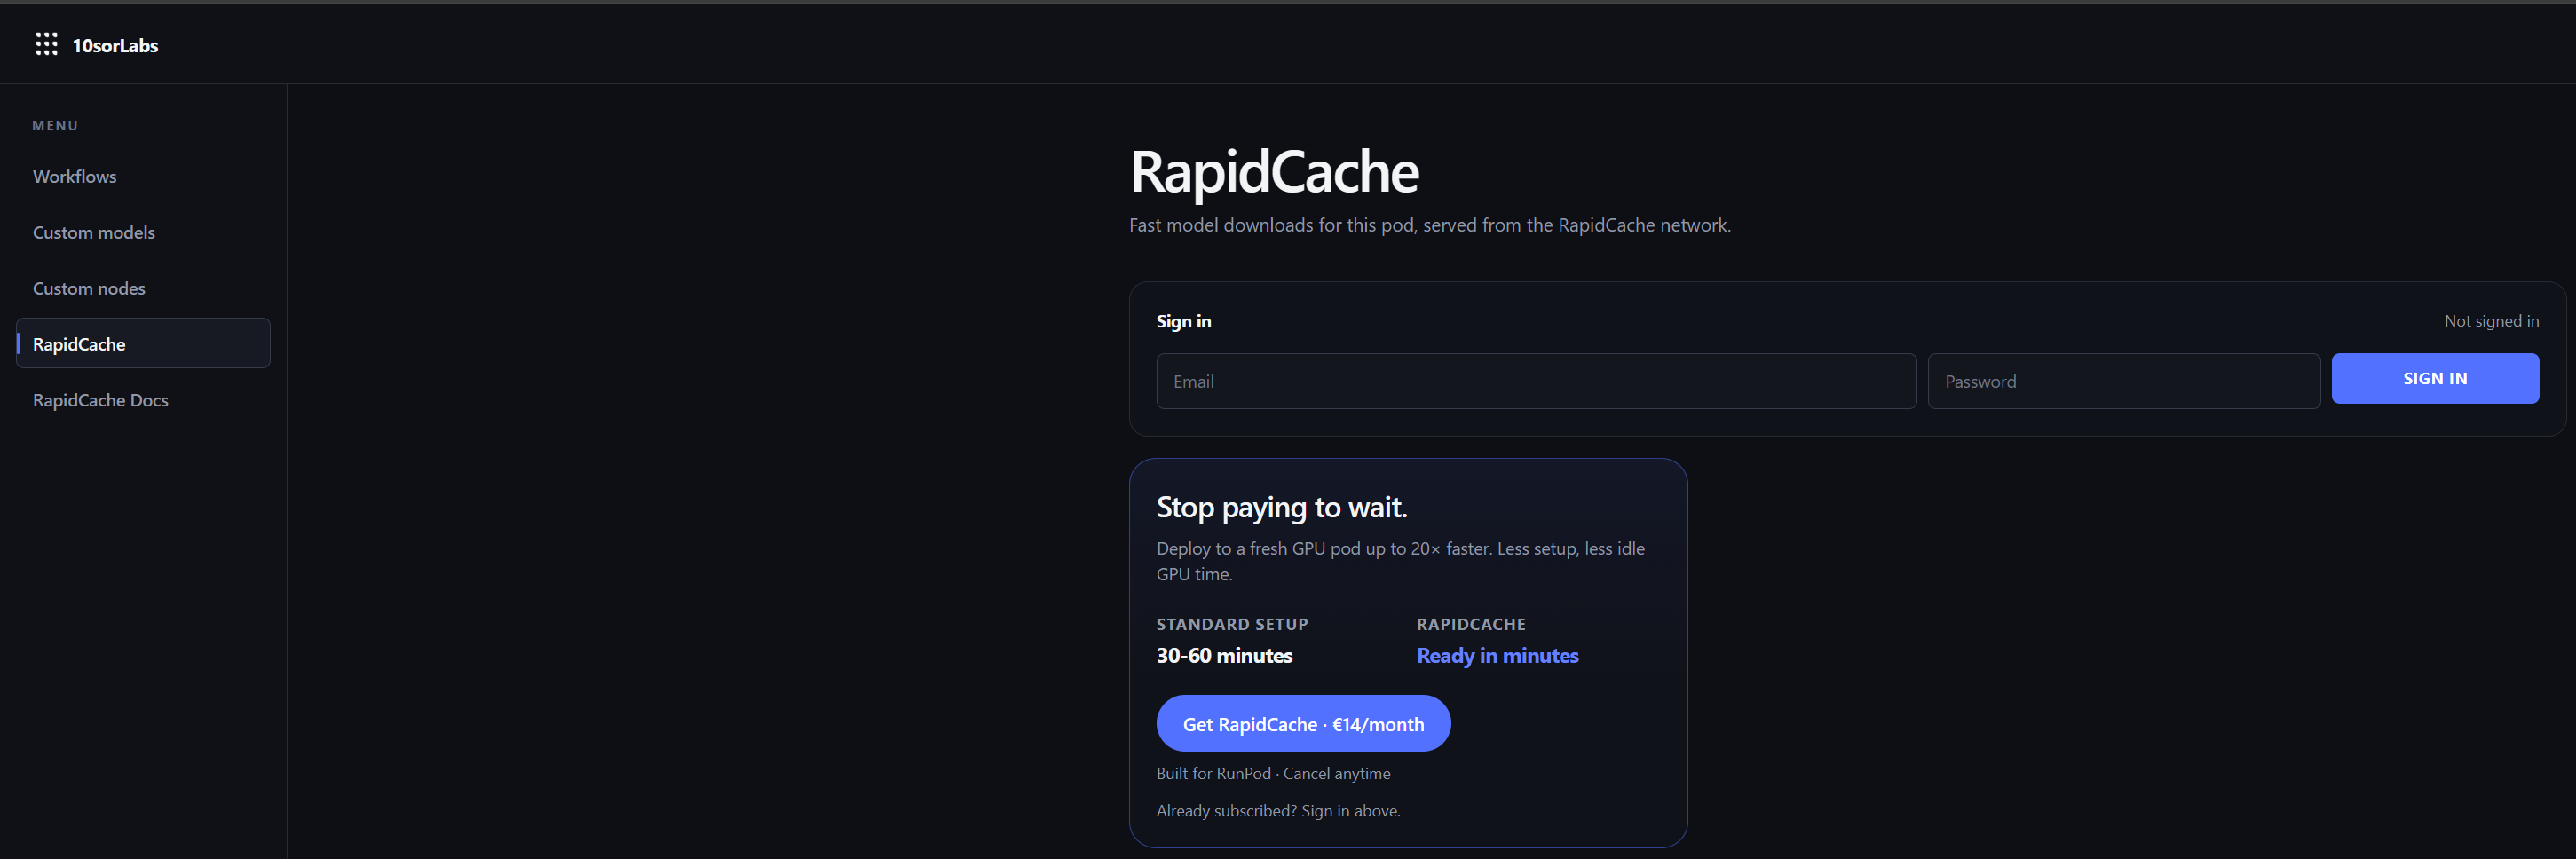
You will know it worked when a green RapidCache badge appears at the top of the workflow list. That badge is the only confirmation you need.
4. If downloads feel slow
Speeds vary, and mostly not because of us. Your pod shares a server with other people's pods, and how much of the connection is free depends on what they are doing. The RapidCache Docs tab inside the pod explains what the numbers mean, when to wait, and when to deploy a new pod.